Getting Started
By following the steps on this page, you will get your system ready for running and developing Tagger.
System Requirements
Tagger was developed and tested on Ubuntu 16.04 and 18.04. It will likely work on other OSes similar to Ubuntu, like Linux Mint and Pop!_OS, but that’s not guaranteed.
Downloading Tagger
You can download Tagger source code from the Guardian’s GitHub repository. Although you can download the files as a zip file using your browser, it’s better to learn how to use git from the command line because it’s the tool that makes version control workflow very easy.
Ubuntu distributions don’t include git out-of-the-box, so first you have to download and install it. From your terminal, run the following command.
sudo apt-get install git
If you’re confused with what is happening and you’re just starting to use Ubuntu, take a pause and go through this great command line tutorial before continuing.
After you install Git, use it to download Tagger with this command.
git clone https://github.com/Team-Guardian/tagger.git
If Tagger was downloaded successfully, there will now be a folder called tagger in your current directory (hint: use pwd to get the full path of the directory you’re in and ls to list the files and folders that are in it). You will need to be inside the tagger folder to complete the remaining steps in this guide.
cd tagger
Also, when you download a project from GitHub, by default it shows the files on the master branch (Confused? Here’s another great tutorial that explains Git). Change to the development branch before continuing.
git checkout development
git pull
Collecting Dependencies
Tagger uses Pipenv to manage Python package dependencies. Being a tool inspired by package managers from other languages, Pipenv has an additional benefit of automatically creating and managing a virtual environment for your project to keep package dependencies isolated - you can read more about the tool in the guide for developers.
Another set of dependencies that must be installed is system packages. Included in the repository is an installation script, install.sh, that takes care of both the system-wide and Python dependencies. Simply run the script to finish collecting dependencies for Tagger.
sudo sh install.sh
Output of the script is written to the log file, .install.log.
Setup PostgreSQL
PostgreSQL is a database management software that Tagger uses to organize its data about flights, images, targets, etc. Before running Tagger, we have to create a local instance of the database (Confused? There’s no tutorial this time - it’s a difficult topic, but you don’t really need to know it to work with Tagger).
Start by logging in as a postgres user.
sudo -i -u postgres
Next, launch the PostgreSQL terminal interface, psql.
psql
Your terminal prompt should be changing after running each of these two commands, maybe it will even change color - if none of that is happening, make sure you didn’t glance over an error in one of the above steps. You can start over by closing the terminal, opening a new one and navigating back to the tagger folder.
After you launch psql, change the default postgres user password to postgres (note: commands in psql are prepended with \ and to change the password you will be prompted to enter it twice; remember, you won’t see the password you’re typing).
\password
postgres
postgres
After you change the password, create a database called tagger owned by the user postgres.
create database tagger with owner postgres;
\q
Change the user from postgres back to “yourself”.
exit
Finally, restart the PostgreSQL service.
sudo service postgresql restart
Running Tagger
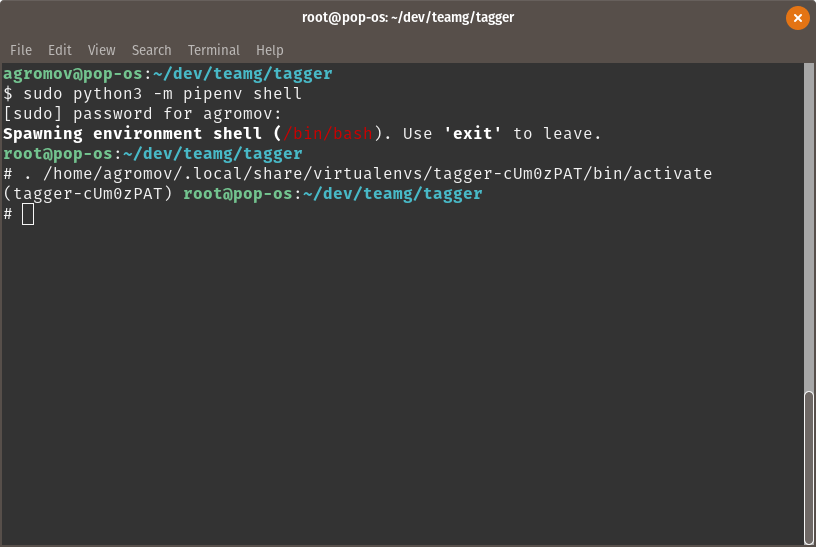
Because Pipenv installed dependencies in a virtual environment that it has created, to run Tagger you would first need to activate the virtual environment. To do that, start a Pipenv “shell”.
sudo python3 -m pipenv shell
If the virtual environment is activated successfully, you should see the terminal prompt prepended with the name of the virtual environment.
In the last section, we created an empty database. Now we need to tell it how we want it to look like (in other words, what kind of data we want to store in and how it should be organized). You don’t have to start from scratch - Tagger already comes with a schema and all that’s left is to apply it.
python3 manage.py migrate
You should now be able to launch the Tagger GUI with the following command.
python3 main.py